
Cleaning your Chromebook isn’t as difficult as you’d think it is. It’s easy. Seriously.
You may be confused about what cleaner to use, or what cloth to use, or how to clean the screen, or how to clean the USB ports, or how to clean underneath the keys, or just how to go about cleaning your Chromebook.
I’ll show you how to clean it in a straightforward and easy to understand way.
This guide covers the most basic cleaning techniques all the way to advanced methods.
Last updated: 3/6/23. This guide is constantly being updated so you get the most accurate information on keeping your laptop squeaky clean.
Ready to clean up your Chromebook?
It covers everything from just cleaning the Chromebook laptop keyboard, trackpad, and body, all the way up to cleaning the Chromebook’s screen, under the keys, and even the power and USB ports.
All of it.
This is a complete guide to cleaning your Chromebook laptop, and I know that you may not want to do a full cleaning.
Feel free to skip around and clean just the part that you need. But be sure to read the preparations and precautions on each section.
If you decide to do a complete cleaning, I suggest you follow the steps in order. Make sure you clean the Chromebook’s screen last because it’ll get dirty from all the other steps.
Let’s get cleaning.
Getting ready to clean your Chromebook laptop

No matter what part of the Chromebook you’re cleaning, make sure you follow these prerequisite instructions.
This entire guide is written for Chromebooks specifically, but may also work on Windows or Mac laptops as well.
If you don’t own a Chromebook and you’re using this guide, please take caution and know what you’re doing so you don’t damage your laptop.
If you’re using one of these laptops, you may want to switch to a Chromebook.
I know, that’s probably not what you came here for, but you may want to check it out regardless.
It just may be the best decision you’ve made about computers. I wrote an article about my personal experience with Chromebooks and another article about the benefits of Chromebooks over Windows computers.
Both of these articles are based on factual data and personal opinion- a slight mix of the two. Check ’em out if you’re interested.
Precautions and preparations
Now let’s talk about cleaning.
Even though all Chromebook models are pretty similar in build, there are always exceptions.
Some models are very different from others depending on who built them. This guide was written in a way so that directions apply to the general majority of them. Yours may be unique, so it’s important to think about whether or not you should attempt a particular cleaning process.
It’s almost important that you take proper precautions when you clean. You’ll be working with electrical components and small parts that are easily damaged. And they also pose a shock and electrocution hazard. So be careful.
Note: Some of these instructions may not apply to your specific Chromebook model, so exercise extreme caution. Use your own best judgment before attempting any of these procedures. I assume no responsibility for any damage caused in any way. Do everything at your own risk. Please use your best judgment.
Did you get all that?
Good. Now that we got all of the precautions out of the way, let’s move forward to the next step on getting your Chromebook like new.
Preparations:
Step 1: Completely power down the Chromebook.
Turn it off completely by holding down the power button in the top right corner. Don’t set it to sleep or hibernate. Shut it off completely and make sure it’s off.
Step 2: Remove any connected peripherals attached to the Chromebook.
This includes USB devices, such as a mouse, keyboard, USB drive, external hard drive, power cable, etc. Make sure there is nothing still connected to your laptop.
Step 3: If your Chromebook has a removable battery, go ahead and carefully remove it.
Most Chromebook models don’t have a battery that can easily be removed, so you can skip this step if not. If you remove it, make sure you do it properly. There’s a specific process and it’s different for every model, so don’t go pulling it out. And be careful of electricity. Take precaution.
You’ll have to unlock the bottom panel and disconnect the battery from the battery cable to safely disconnect it. If you’ve never done this before, you can leave it intact, but just be extremely careful about mixing liquids and electronics (in which you should never do).
Cleaning your Chromebook’s keyboard
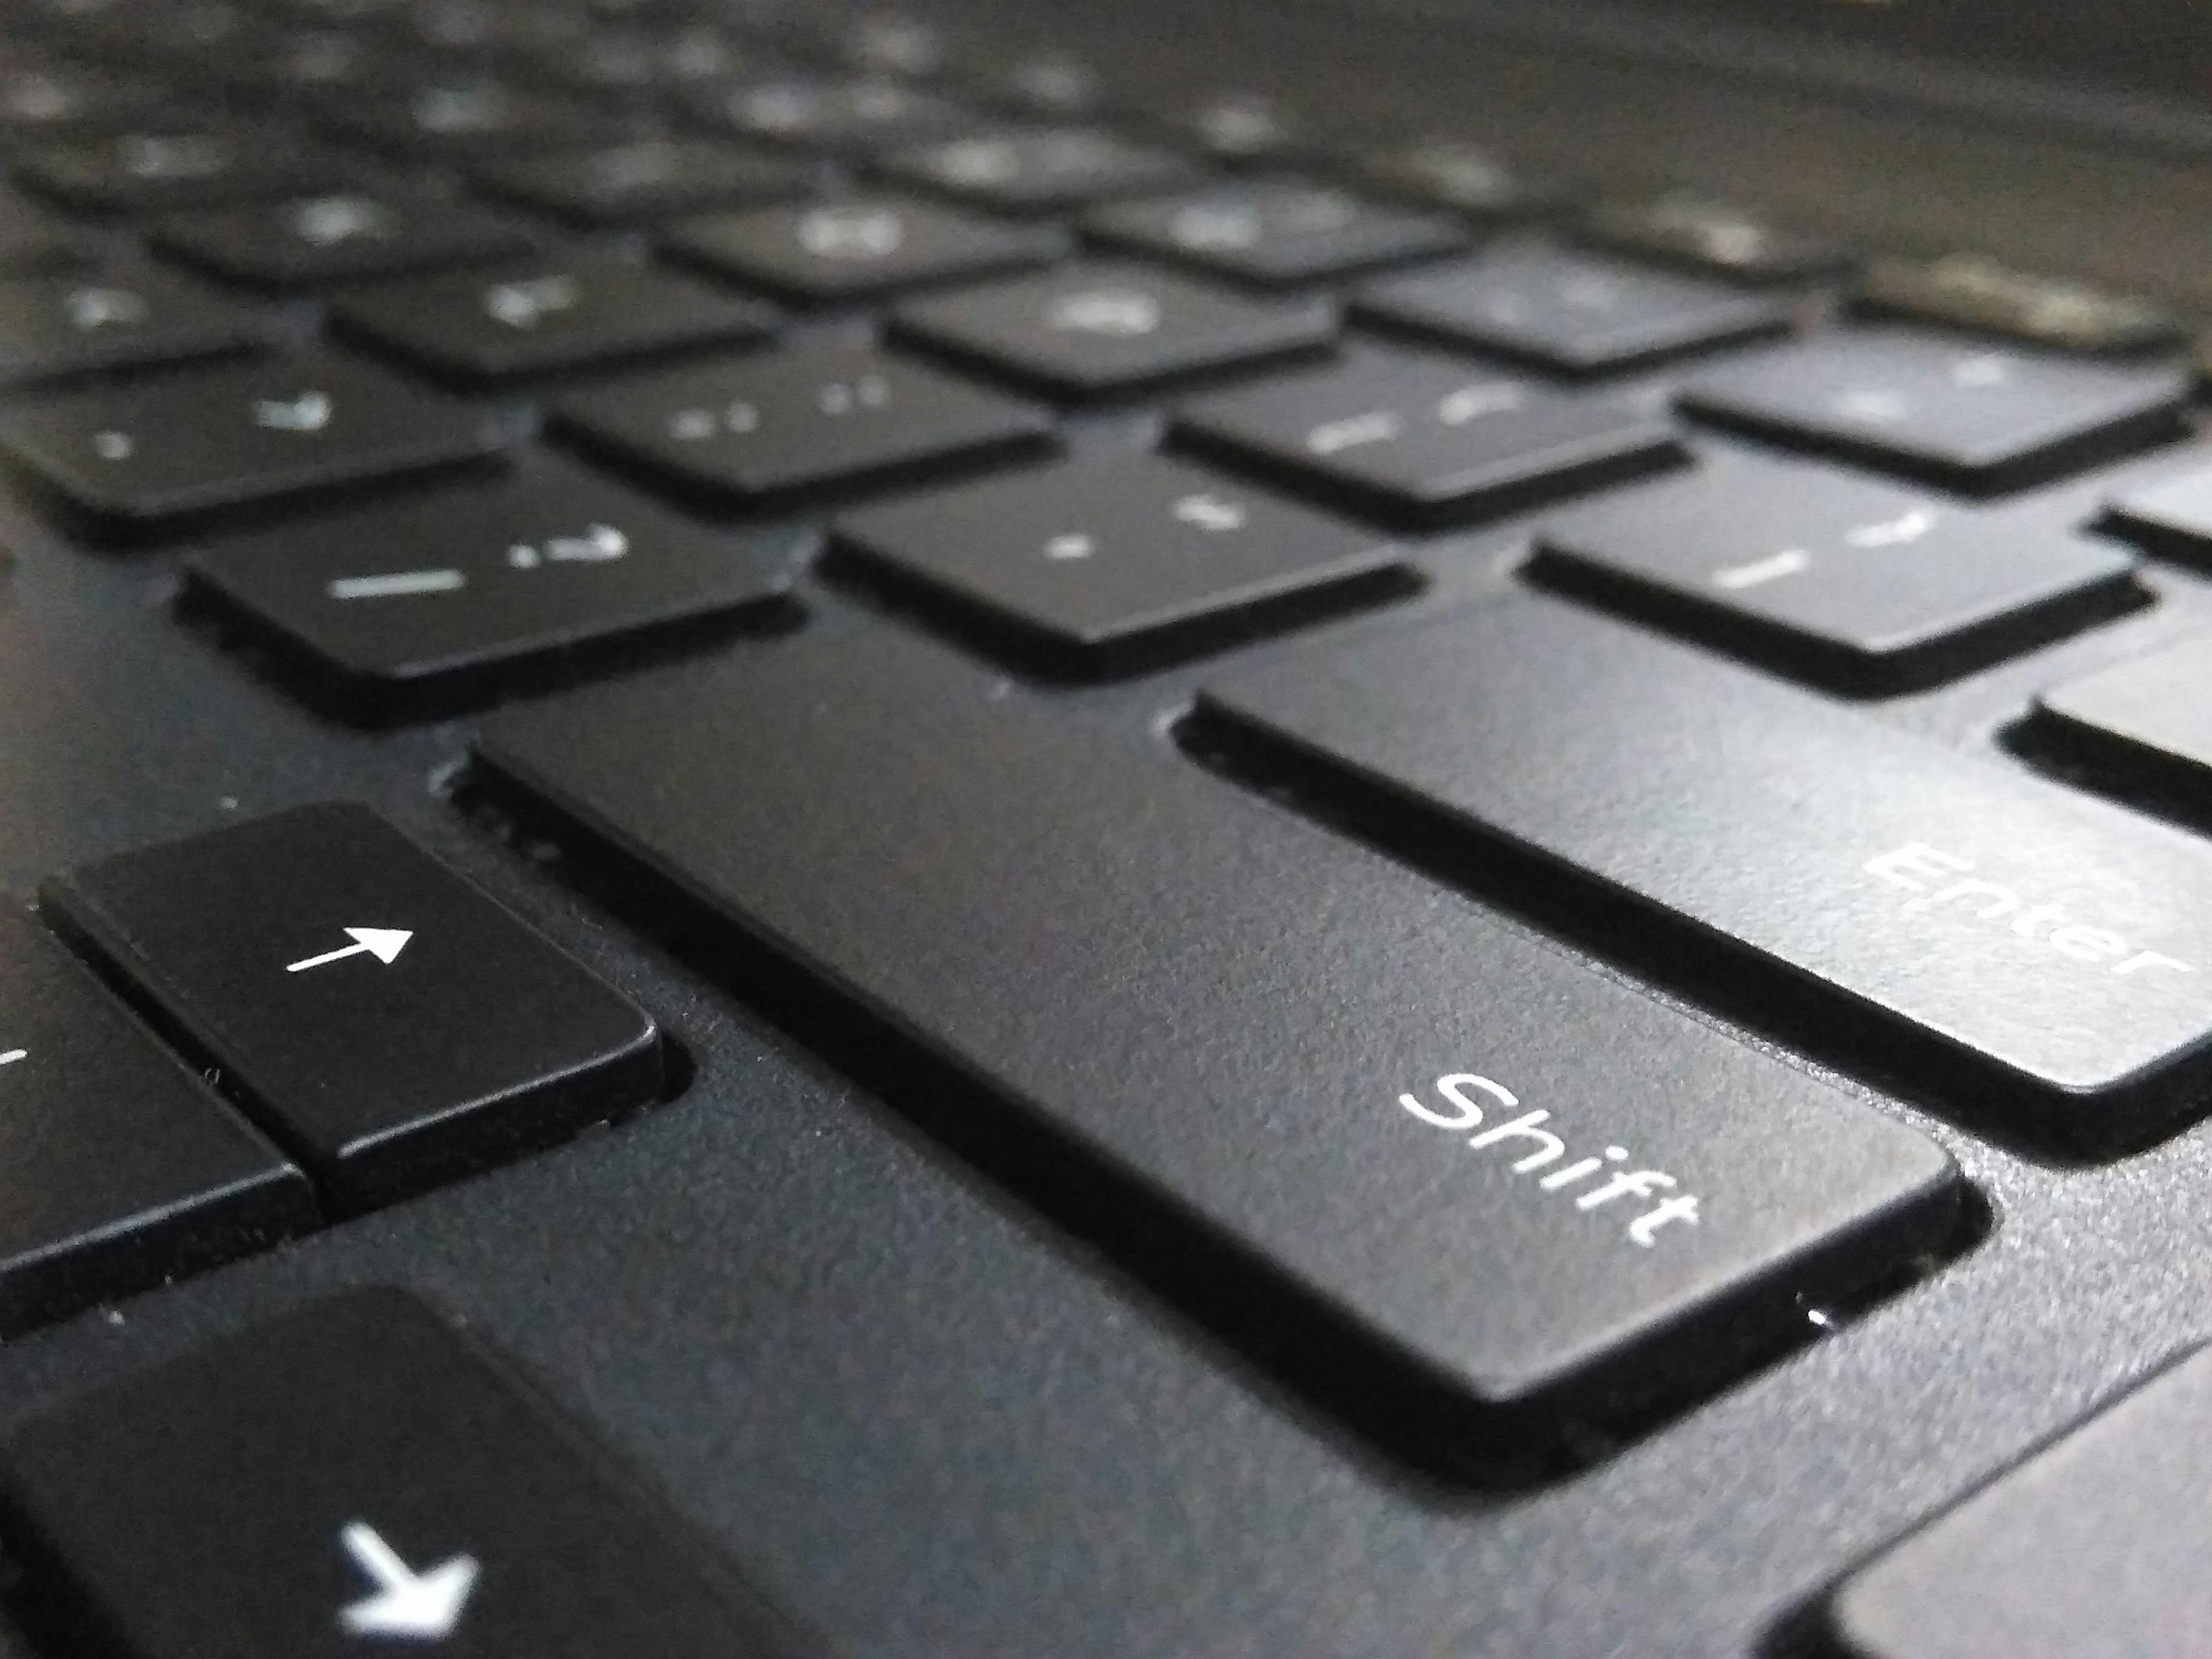
Let’s start with cleaning the keyboard, as this area gets the most traffic and dirt from your fingers.
After weeks of use, your keys will start turning brown or getting those mushy white sweat stains all over them. You may also notice debris stuck between or under the keys, especially if you have a backlight.
The wrong characters may show up, along with repeating characters or wrong key inputs.
Cleaning this will improve the feel of your laptop as you type and make the most impact.
You’ll need the following items:
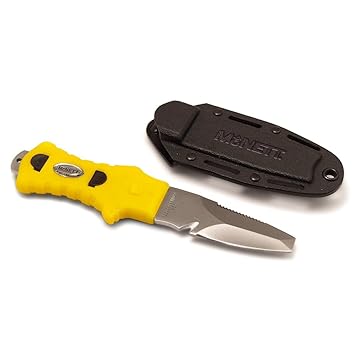
- A blunt knife- such as a butter knife (a screwdriver works too)
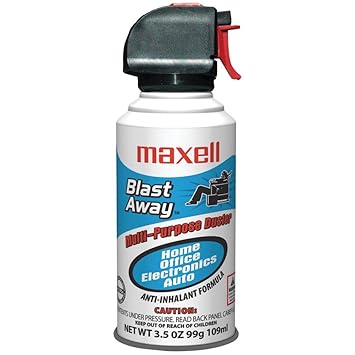
- Compressed air (also known as “canned air”)
- 70% Isopropyl alcohol (also known as rubbing alcohol)
- A microfiber cloth or semi-abrasive cloth, depending on how dirty your keys are
Are you ready? Let’s clean up.
Step 1: Use a dab of isopropyl alcohol on a semi-abrasive cloth if your keys are noticeably dirty.
You can use a terry cloth or towel for this purpose.
If your keys aren’t that dirty, use a microfiber cloth as it’s much less abrasive and safer for your keys (you don’t want to scratch the paint off your keys).

Step 2: Use the cloth of your choice and slowly, but firmly, go over your keys in a circular motion per each key.
Try not to let any of the liquid fall between the cracks. While pure alcohol won’t harm electronics, impure ones can leave behind calcium or hard minerals in the key membranes. This can really screw up your keyboard.
Use a firmer motion on dirty keys. The debris should slowly come off. They should stick to the cloth pretty easily.
Gather the dirty bits and take them off of the keyboard. If they fall into the cracks between the keys, that’s fine for now. But try to avoid it as much as possible. Try to remember which keys have debris that fell between them.
Apply more isopropyl alcohol as needed. Don’t worry about the alcohol getting in between your keys too much. It’s not really harmful to electronics by nature, but that doesn’t mean you should be spraying tons of this stuff all over your keyboard.
Rubbing alcohol doesn’t conduct electricity, so many powerusers literally soak their computer parts in it to clean them. You can use a lot of it and spray the solution liberally to clean and sanitize your keyboard and touchpad.
Step 3: After all the keys are cleaned, let it sit until completely dry.
This should only take a few minutes as rubbing alcohol evaporates quickly at room temperature.
Removing your Chromebook’s keys and cleaning under the keyboard
Next, we’ll clean underneath the keys. You can skip this step if you feel that your Chromebook’s keyboard is clean.
Note: This step is risky and if not properly executed could cause damage to your keyboard. Only proceed if you’re familiar with key removal.
Another note: Every Chromebook manufacturer has their own way of building a keyboard. These instructions are a general guideline and may not apply to your specific keyboard. Be careful. You may end up breaking something.
Step 1: Use the blunt blade or screwdriver and carefully stick it under each key you think there’s debris hiding under.
It’s important to carefully wedge it in from only the proper direction. Each key is held by a retainer clip that’s usually on the bottom of the key. If you’re looking at it from above, it’s at the 6 o’clock position of the key. You want to attack the key from this position slowly.
You can tell which keys are dirtier than other by simply looking between the cracks, or from your cloth cleaning above. Typically, the keys that were dirtiest will have debris under them as well, or the keys that you saw debris fall into when you were wiping them.
Step 2: Pry out the keys very carefully and store them somewhere safe.
Do this by inserting the blade tip at the proper angle and then “scooping” out the key.
Note: Be extremely careful. It’s very easy to break something here and you should only do this if you’re comfortable.
You need to slowly insert the blunt edge until it stops. This is usually just about a centimeter in.
Afterwards, slowly lift the blade upwards and the key should easily pop out after a bit of resistance.
Each key has 3 pieces to it- the cap, the retainer, and the rubber spring. See this for a detailed breakdown.
All you really need to remove is the cap. Leave the other parts alone. If you happen to remove them by mistake, see the videos at the end of this section for reinstallation.
Note: It’s very important to do this at the right position (as mentioned above). If you feel like the blade isn’t inserting or hitting something, you should stop and attack from another position.
You may have to practice a bit to get it right, but it shouldn’t be too difficult. Be careful not to insert the blade too deeply, or else you may damage the chip below the keyboard.
The keys will pop out as you pry them, so be careful of your eyes as well.
Step 3: Use the compressed air and gently spray where the keys used to sit.
Don’t hold the can upside-down. Instead, tilt it and spray it. You can also try tilting your Chromebook as well to get the debris out.
If you find a stubborn piece, use a pair of tweezers to safely remove it.
Note: There have also been arguments against canned air all over the web stating that it may lodge debris further into the laptop. This is completely true and is a drawback of using this stuff.
If you’re worried and don’t want to take the risk, use tweezers instead.
Step 4: Place the keys back onto the keyboard.
The keys should snap back into place if they’re positioned correctly. If you removed the retainer or the rubber dome, you have to place those back first in the proper order before placing the cap back on or else it won’t “click.”
Don’t force it. If it doesn’t snap, you could be placing it incorrectly. Try adjusting your angle to where you push directly down.
The keys should snap back into place without much force.
Here’s a video demonstrating how to correctly position the keys:
Step 5: Clean up.
Give your keys one last wipe with your cloth to remove any remaining dust, debris, or other nasty stuff.
Store the isopropyl alcohol and compressed air as directed by the manufacturer. Give your
Cleaning your Chromebook’s trackpad

Cleaning the touchpad, or trackpad, is pretty easy and straightforward.
It’s probably the second-most dirtiest part of the Chromebook, right behind the keyboard. With people being more careful than ever in public nowadays, sanitizing your keyboard after others use it is a good idea.
But, that depends on your browsing habits and what you use your Chromebook for. If you’re a productive task-doer, you’ll probably have a dirtier keyboard. If you’re a video-watcher, you’ll probably have a dirty trackpad.
Let’s get that trackpad clean and new.
You’ll need the following items:
- Isopropyl alcohol (70%)
- A semi-abrasive cloth or microfiber cloth, depending on how dirty your trackpad is
Step 1: Dab the cloth into isopropyl alcohol.
Depending on the debris on your trackpad, you’ll want to choose the proper cloth for cleaning. A rougher cloth will clean tougher debris, but don’t go crazy and use something too abrasive. Think: bath towel. That’s the most abrasive surface you should use.
The trackpad is simple to clean. Use a bright light to clean up any smudges and scuffs. It makes it easier to see them.
Step 2: Wipe gently, but firmly in a circular motion along with the surface of your trackpad.
It should “click” as if you’re clicking it while you wipe so you know you’re firm enough. Use more isopropyl alcohol as needed. Don’t be afraid if it gets in the crack around your touchpad. It’ll evaporate by itself. Just don’t go overboard with it.
Step 3: Let it air dry.
No need to wipe. The solution will evaporate by itself and leave no residue unless your keys were extremely dirty. If so, go ahead and wipe. Store the isopropyl alcohol as directed by the manufacturer. It should dry within seconds if it’s high quality rubbing alcohol.
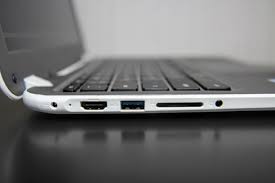
Cleaning your Chromebook’s USB, power, headphone, and other ports

The ports get dirty and collect dust and debris due to the heat generated from your Chromebook.
The dust gets sucked in like a magnet. Although the dust won’t really harm your Chromebook nor alter the performance, it still extremely annoying to us clean freaks- and I’m one of them.
Thankfully, cleaning the dust out of the ports (USB, power, headphones, SD cards, Kensington lock, other locks) is easy.
Things you’ll need:
- Compressed air
- A soft cloth (microfiber works best)
- Isopropyl alcohol (70%)
Step 1: Use the isopropyl alcohol on the cloth.
A microfiber or other non-abrasive cloth will work fine. Just use a dab so it’s nice and damp. There should be no drip or else you’re using too much.
Step 2: Spray the port with the air.
Dust and debris may come flying out. Let the big chunks fly out.
The small and fine particles will stick to the Chromebook or surface of the port. A hairdryer can be useful, but is unnecessary since alcohol overpots quickly. If it’s taking time to completely overpoted, you’re using too much of it.
Step 3: Use the damp cloth and wipe the port after you spray it with the compressed air.
This will pick up any loose particles hanging on the edge of the port. Don’t stick the cloth into the port. The moisture can damage the port.
Step 4: Let the ports air dry.
Don’t use them or insert anything until it’s completely dried. You don’t need to wipe them out- the solution will evaporate by itself. Store the isopropyl alcohol and air as directed by the manufacturer.
Cleaning your Chromebook’s lid and body
After moving your Chromebook around for the mobility, it gets dirty.
Not to mention, you probably don’t always have clean hands to carry it around. Cleaning up the dark spots is easy.
Things you’ll need:
- Isopropyl alcohol
- A soft cloth (microfiber works)
Step 1: Dab the cloth into the isopropyl alcohol.
Just use a moderate amount. If it’s dripping, let it drip until it stops before you start cleaning. Too much isopropyl alcohol can damage the laptop if it gets into the frame.
Step 2: Wipe the exterior of the Chromebook.
You can safely wipe the lid, bezel, and body with no worry, as the isopropyl alcohol won’t damage the finish of your Chromebook. It may spread the debris around if it’s that dirty. If so, apply more isopropyl alcohol and wipe with a clean part of the cloth. Repeat as needed.
Step 3: Let the Chromebook air dry.
You don’t need to wipe it down or anything. It’ll evaporate and leave no residue unless the residue is dirt or debris. Store the isopropyl alcohol as directed.
Cleaning your Chromebook’s screen
You’ll need a special cleaning solution to clean your Chromebook’s screen.
You can get this stuff at any retailer that carries laptops or computers. Make sure it’s safe for screens and that’s the sole purpose of the cleaner.
With people working remotely or students doing virtual classrooms, spit, grime, or fingerprints are common on the display. After all, talking with your peers in an online conference right after you throughly cleaned it is frustrating. I’m talking Zoom, Google Classroom, Microsoft Teams, etc.
Never spray rubbing alcohol or hydrogen peroxide directly on the screen. It removes the oleophobic coating that prevents oils from building up.
Nobody wants to see those rainbow shiny pixels of spit on their screen. Or those white smudges or blotches when you run your finger on them trying get them off.
All-in-one solutions generic cleaners may not be safe for your display and may leave streaks or damage it. Get something that’s dedicated to cleaning monitors and screens.

Some products are designed just for this purpose and will clean your device without harming it.
I’ve used several dozen cleaning kits on my electronics (and not only on my Chromebook).
Here are my go-to screen cleaners:
- Tech Armor Complete Cleaning Kit (gel screen cleaner + microfiber cloths + hardware spray)
- Belkin Screen Cleaner Spray Kit (spray + microfiber cloth)
- UsefulThingy Screen Cleaner Kit (spray + microfiber cloth)
- Bryson Screen Cleaner Kit (spray + microfiber cloth)
If you have any good kits, let me know in the comments.
For this part, you’ll have to follow the manufacturer’s directions. Use a microfiber cloth and apply the solution as directed. Clean as directed.
You should do this step last, as the screen is the most visible part you’ll be starting at when using your Chromebook. If you do this step first, you’ll probably get debris all over it from the other steps.
(You can use a screen protector or sleeve to get rid of fingerprints or prevent smudges/scratches- especially if you have a touchscreen.)
Don’t use normal soap or isopropyl alcohol to clean your Chromebook’s screen.
It’ll likely leave streaks or damage it. Also, don’t use water. It’ll probably just spread the dirt around and leave streaks when it dries.
If you’re on a budget (or you’re handy, you can make your own screen cleaner solution. You can make it with basic household chemicals and a microfiber cloth.
Here’s a quick video with all the ingredients you’ll need to make a screen cleaner as good as the store-bought variety:
Is your Chromebook clean yet? It should be sparkly clean- just like new.
Well, there you have it. A complete guide to cleaning up your Chromebook.
If this guide has helped you, please consider sharing it to another avid Chromebook fan.
Got any cleaning tips? Share them in the comments and let’s clean up.
")
")
")

Can you tell me how to clean dried nail polish off of the keys on the keyboard of my Chromebook? Of course, it’s a school computer and I have to give it back…please help!
Can a UV wand be used on HP Chromebooks for disinfection?
Trying to type this is hard, but I’ll make it quick.
My friend had spilled something on my keyboard and now a few of the keys are sticky, as in they won’t work properly.
Is there anything I can do about this?
Hey Connor,
Please only do this if you’re confident enough and know what you’re doing. Otherwise you could damage the Chromebook even further, or end up hurting yourself if the proper precautions aren’t taken. Be sure the laptop is completely powered OFF and always be careful. Proceed at your own risk!
If the keys aren’t working properly, this may be due to the membrane pads being shorted by the substance or something’s caught/stuck. Do all the keys not work? Are they still registering by typing the wrong character? Or it could be something else entirely. Cleaning out the keys may help, but only if they’re able to be pried off safely. You’ll also want to use a cleaning solution safe for electronics and a cotton swab to clean between the keys and get as much out as you possibly can. There are also special key remover tools you can get to pry them off. Doing it wrongly may snap the connectors and the key won’t attach anymore.
If you clean it and it’s still not working correctly, it may need professional repair. Do you have it covered by a warranty? You may be able to get it restored for free if you’re covered by a “drop or spill” plan.
Again, if you even the slightest unsure about what you’re doing or don’t feel comfortable, you should get a professional to restore it. It could be anything from damaged key membranes to a damaged chipset, depending on how much was spilled and where the liquid went.
Let me know if you have any other questions!
Thanks.
Thank you for the feedback, Andy.
However, what I may have not specified is the effect that later occurred.
Instead of it causing the keys to malfunction, the bottoms have become physically sticky, as in they won’t press down and come back up as they should.
Anything else you can say?
Thank you Andy for your expertise advise. Simple and inexpensive. My Asus is fairly new and Im determined to not let it get to the point of no return by following your easy advise….
No problem Rita =]. Let me know if you have any other questions!
do you know how to clean stains? not exactly sure what kind of chromebook i have but I have some rubbery material next to my track pad and i have a couple neon yellow spots from ramen…my chromebook is fairly new so im very upset about this
Hey there,
I’d suggest using isopropyl alcohol (rubbing alcohol).
This stuff won’t damage electronics if it should leak into the keyboard or trackpad and evaporates almost instantly. Just pour a generous amount onto a microfiber cloth and wipe it in a circular motion where the stains are on your laptop. It should wipe right off. Repeat for stubborn stains!
It also cleans surface stains like a grease remover so your Chromebook will be left sterile where you apply it. It’ll look like new. Be warned though that it could wipe off some of the stickers on your laptop- so be careful where you apply it. It’s good stuff.
You can find it at pretty much any department store.
Let me know if you have any other questions.
Thanks.
Thanks so much, I’ll get to that asap 🙂
THanks for the tips,my Lenovo Chromebook actually looks disgusting,meaning dirty and wasn’t sure the right method of cleaning
Hey Bill,
No problem! That’s actually why I wrote this guide in the first place- my Acer was horrid with fingerprints, dust, and dirt all over the keyboard and screen.
Let me know if you have any questions =].
Broke a key trying to pry it off like he suggests.
Hey Brandon,
I’m terribly sorry about the mishaps during the cleaning process. Chromebook keys are very, very sensitive and easy to break (if I’ve learned anything from cleaning them).
I’ve already broken three different keys on two different keyboards trying to pry them out. Some have popped out easily while others were stubborn and broke.
They’re built differently from typical Windows laptops, so they break easier and removing them is a real pain. I’m convinced now.
If you didn’t completely break it, it may be possible to repair it. It comes in three pieces- the key cap, retainer, and rubber spring dome. It could just be that it’s been disassembled and needs to be reassembled to work.
There are also a ton of videos you can find that show you how to reassemble the key.
I’ve also updated the guide with a helpful resource and a video to better help anyone who wants to attempt removing the keys (with some warnings).
Thanks for pointing this out. And once again, apologies for the lack of information.
Thanks again.
Hi, I was just wondering if you knew that most places and specialist tend to recommend against using pressurised air as a method to clean the key board as it can actually push some of the dirt/debris further into the laptop and its internal componants. Instead they recommend to use a small hoover/ small hoover attachment which is just as effective but avoids pushing things further into the internal parts of the laptop
Hey there,
Thanks for bringing this up. You make a valid point!
Personally, I’ve never tried the vacuum method because I’m afraid electronic accessories have can cause static shock and build up which can destroy electronic components. I’ve been using canned air to do regular maintenance on computer internals for laptops, desktops, and even my phone with no issues.
However, I can see how using a specified vacuum can help pull debris rather than lodge it farther, and I’ve seen these being used by professionals.
For the typical user at home, it’s probably easier to use air and I wrote this guide to be as user-friendly as possible.
Regardless, you make a valid point and I can see it from your perspective.
Thanks again for bringing that up.
I see a lot of dust/ debris underneath the trackpad. Im sort of worried on it right now. Could you explain how to remove the trackpad and clean the region underneath it
Hi,
If it’s dust around the trackpad in the “moat,” you can use a thin knife head to scoop it out carefully. If you’re actually trying to remove the entire trackpad, it’s a difficult process that involves some specialized tools and possibly voiding the warranty of your Chromebook. Debris and dust getting into your trackpad should be fine- it shouldn’t affect the performance or accuracy of your trackpad.
If you’re really worried, consider using a protective film over it.
But personally, I think it shouldn’t warrant it. I’ve never had any issues with performance of the device affected by debris, and my Chromebook isn’t the cleanest.
Let me know if you have any other questions =].
Thanks.